Introduction:
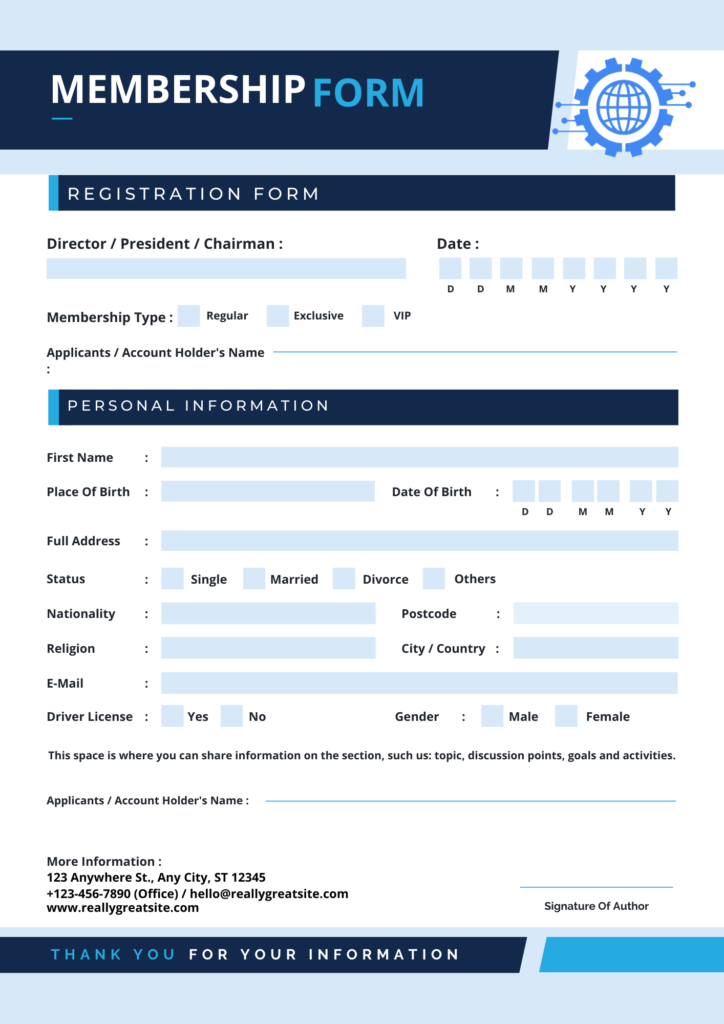
Having a contact form on your website is essential for effective communication with your visitors. With WordPress Elementor, you can easily create beautiful and functional forms that capture user information and send it directly to your email. In this step-by-step guide, we will walk you through the process of creating a form using Elementor and connecting it to your email ID. Let’s get started!
Step 1: Install and Activate the Elementor Pro Plugin:
To create forms in Elementor, you will need the Elementor Pro plugin. If you haven’t already, go to your WordPress dashboard, navigate to “Plugins,” click on “Add New,” search for “Elementor Pro,” and follow the prompts to install and activate the plugin.
Step 2: Create a New Page or Edit an Existing Page with Elementor:
Once Elementor Pro is activated, go to your WordPress dashboard and navigate to “Pages.” Choose an existing page or create a new one where you want to add the form. Click on the “Edit with Elementor” button to launch the Elementor editor.
Step 3: Drag and Drop the Form Widget:
In the Elementor editor, search for the “Form” widget in the left panel. Drag and drop the widget onto your page canvas.
Step 4: Customize the Form Fields:
With the Form widget selected, you can customize the form fields to collect the information you need from your visitors. Click on the “Add Field” button to add fields such as Name, Email, Message, etc. Customize each field by modifying the label, placeholder text, and required status as per your requirements.
Step 5: Configure Email Settings:
To ensure that form submissions are sent to your email ID, go to the “Actions After Submit” section in the Form widget settings. Click on the “Email” tab and enter your email address in the “Recipient” field. Optionally, you can customize the subject and message body of the email.
Step 6: Customize the Submit Button:
The Form widget allows you to customize the submit button text and style. Select the submit button, and in the settings panel, modify the text, color, size, and other design options to match your website’s aesthetic.
Step 7: Configure Additional Settings (Optional):
Elementor provides additional settings for form submissions, including redirecting to a custom thank-you page, displaying a success message, or resetting the form after submission. Explore these options in the Form widget settings to further enhance your user experience.
Step 8: Preview and Publish the Form:
After customizing your form, click on the “Preview” button to see how it looks on your website. If you’re satisfied, click “Publish” to make the changes live on your page. You can also assign the page as your contact page or embed the form in any other page using Elementor’s shortcode or widget.
Step 9: Test Your Form:
To ensure that your form is functioning correctly, test it by submitting a sample entry. Check your email inbox associated with the recipient email address to confirm that you’re receiving form submissions.
Conclusion:
By following these step-by-step instructions, you can easily create a form in WordPress Elementor and connect it to your email ID. Elementor Pro’s intuitive interface and customization options allow you to design forms that align with your website’s branding and collect the necessary information from your visitors. Remember to regularly check your email for form submissions and respond promptly to inquiries to maintain excellent communication with your audience. Enjoy the benefits of a seamless and efficient contact form on your website!


2 Responses
Hey there! I simply want to give you a big thumbs up for the excellent information you have here on this post. I am coming back to your website for more soon.
After I originally left a comment I seem to have clicked the -Notify me when new comments are added- checkbox and now every time a comment is added I recieve four emails with the exact same comment. Is there a way you can remove me from that service? Many thanks!