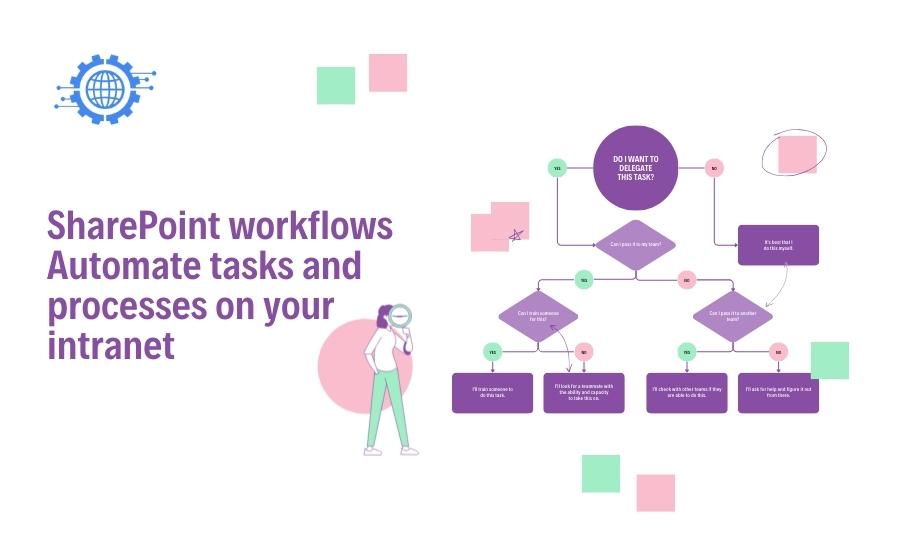
SharePoint workflows are a powerful tool for automating tasks and processes on your intranet. Workflows allow you to define a series of steps that are automatically performed when a specific event occurs, such as when a new document is added to a library or when a list item is updated.
There are two types of SharePoint workflows:
No-code/low-code workflows: No-code/low-code workflows can be created using the SharePoint workflow designer or Power Automate. These workflows are easy to create and do not require any coding knowledge.
Custom workflows: Custom workflows can be created using Visual Studio. These workflows are more complex to create and require coding knowledge.
SharePoint workflows can be used to automate a wide variety of tasks and processes, such as:
Document approval: Workflows can be used to automate the document approval process by routing documents to different approvers for review and approval.
Task assignment: Workflows can be used to assign tasks to different users based on specific criteria, such as the user’s department or role.
Email notifications: Workflows can be used to send email notifications to users when certain events occur, such as when a document is approved or when a task is assigned.
Data updates: Workflows can be used to update data in different lists and libraries based on specific events.
To create a workflow, you can use the SharePoint workflow designer, Power Automate, or Visual Studio. Once you have created a workflow, you can associate it with a list, library, or web page.
Here are some tips for using SharePoint workflows:
Start with a plan. Before you start creating workflows, it is important to have a plan. This will help you to identify the tasks and processes that you want to automate and the steps that you want to be included in each workflow.
Use pre-built workflows. SharePoint includes a number of pre-built workflows that you can use to automate common tasks and processes. These workflows can be a good starting point for creating your own custom workflows.
Test your workflows thoroughly before deploying them. It is important to test your workflows thoroughly before deploying them to your production environment. This will help to ensure that the workflows work as expected and that they do not cause any problems.
Monitor your workflows after deploying them. It is important to monitor your workflows after deploying them to ensure that they are working as expected and that they are not causing any problems.
By following these tips, you can use SharePoint workflows to automate tasks and processes on your intranet and save time and improve efficiency.
Here are some examples of how you can use SharePoint workflows:
- Create a workflow to automate the document approval process for new hire onboarding documents.
- Create a workflow to assign new tasks to team members based on their skills and availability.
- Create a workflow to send email notifications to customers when their orders are shipped.
- Create a workflow to update the status of a project in a list when a task is completed.
These are just a few examples. You can use SharePoint workflows to automate a wide variety of tasks and processes on your intranet.

